Using a Gilding Crayon
By Curt Altarac
Not all of the work a technician does during a repair affects the function of the instrument. Sometimes a purely aesthetic improvement makes a big impression, and re-gilding a trademark, insignia, or serial number on a woodwind or mouthpiece with a gilding crayon is just such a task. Plastic, hard rubber, and wood instruments will all yield different results, so be prepared to experiment. As follows is the basic process for gilding. If you are re-gilding your own instrument, it can be a great way to add a personal touch by using the color of your choice.
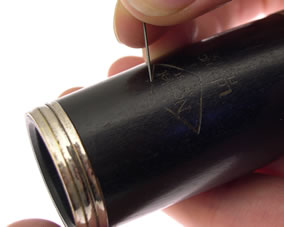
Prepare the insignia, serial number, or other impressions by cleaning out the old gilding crayon and any debris that may have accumulated. This can be done with a small needle spring or a pad prick.
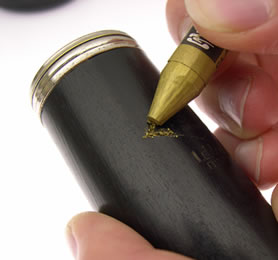
Color over the area to be gilded with the crayon, using enough pressure to work the crayon into the grooves. You can use your fingers to work the crayon further into the emblem.
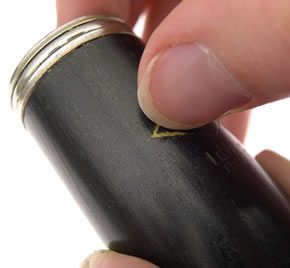
Lightly scrape or wipe the excess crayon off of the surface of the instrument (you can use your fingernail).
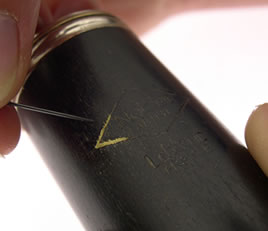
If there are any scratches or grooves in the surface of the instrument that got filled in with crayon that are not part of the insignia, you can use your needle spring or pad prick to carefully remove it.
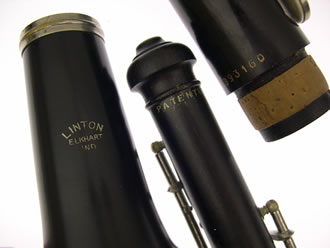
Some technicians prefer to heat the crayon lightly at this time. This can be done using the Vortex Air Torch on a low heat setting or a flame. It can be difficult to get good results if the surface of your instrument is scratched, scuffed, has open wood grains, or if the impression of the insignia has been worn away. As you can see from the photo, results will vary accordingly.
Copyright © 2000-2012
MusicMedic.com
All Rights Reserved