Working With Neo Pads, The World’s Best Self-Leveling Pad
By Curt Altarac
The concept of a self-leveling pad has been around for many years, as manufacturers and technicians alike sought to make the process of padding faster. Traditional pads were held in pad cups with a thin bed of shellac and then the pad cups were bent in order to make the pad contact the tone hole all the way around. Later, pads were held in place with a thicker bed of shellac or hot glue, and the adhesive itself was used to level the pad. These traditional processes were very time-consuming, and the adhesive could fail, especially in hot or cold weather, leaving the instrument at risk of losing pads, falling out of adjustment, and being generally unplayable. Along with these issues, technicians would need to take many variables into account during the long padding process because the pad is glued firmly in the pad cup and the pad cup rotates on a mechanism. Issues included the pad spinning in the cup, the spring tension applying variable pressure to the pad, the player’s pressure on the touch piece, the location of the touch piece and torque, the keys' function, and the keys’ timing.
With so many variables, padding remains one of the most time-consuming parts of saxophone repair, and one of its high arts. Pad leaks are the root of poor response, tone, and intonation problems on a saxophone and are often the result of uneven pressure applied to the pad by the tone hole. As such, padding is the job that often determines whether a saxophone plays just ok or feels responsive, like an extension of the player themselves.
Since the invention of the saxophone, there have been many attempts to make the job of padding faster, easier, and with longer-lasting results. We’ll take a look at some non-traditional pad installation methods, including Buescher Snap-In Pads, LeBlanc Screw-In Pads, Bundy Adjustapads, and TopTone Pads. These pad systems were all interesting developments in padding without the use of adhesive and produced differing results. We will then discuss how Neo Pads compare and how to install them.
Early Self-Centering and Self-Leveling Pads:
Buescher Snap-In Pad
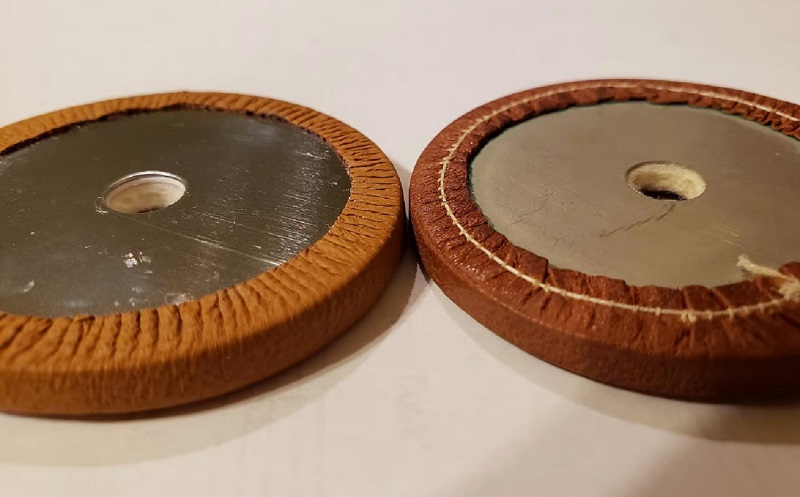
Perhaps the most iconic non-traditional pad, The Buescher company created Snap-In Pads in the early 1920s. These pads utilize a soldered-on, center-mounted spud and a snap-in resonator that locks in over the spud and holds the pad in place. The pads are made to be the correct thickness/protrusion. These pads contain a metal backing to give them a more rigid structure, and the pads are leveled to the tone hole by bending the pad cups (and the metal pad backing with it) to force the pad to conform with the tone hole.
The Buescher method has no self-leveling function and presents challenges when it comes to getting consistent results. When the pad cup is bent, the metal backing of the pad can bend or "potato chip." The pads then shrink and spin in the pad cup, which will cause irreparable leaks every time. The pads are difficult to change and require removing the key and removing the resonator. The Resonators are fairly fragile at their base and can easily break during removal for pad changes.
Buescher pads, LeBlanc pads, and traditional pads experience uneven pressure from the player and the force of the springs. This causes one part of the pad to hit the tone hole first, which will result in the hardening of the pad in that area and consequentially lead to leaks. This also occurs from normal leverage wherein the back of the pad hits first and is crushed to create the seal. Uneven rotational pressure means that the pad is only level in one exact spot, and the pressure applied to the pad is uneven.
LeBlanc Screw-in Pad
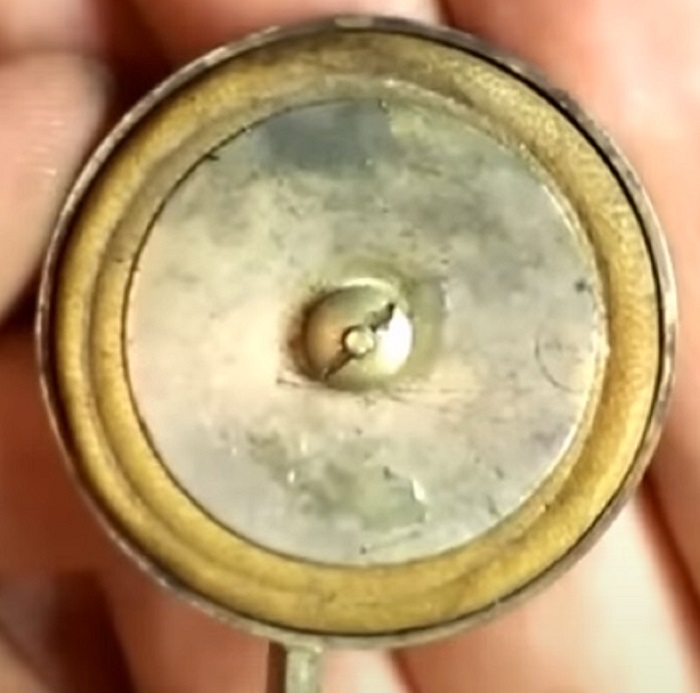
LeBlanc’s efforts for a padding system that required no adhesive functioned in much the same way as the Buescher system. Here, a threaded stud was brazed into the center of the pad cup. The pad was held in place by a large flat resonator and a slotted nut. LeBlanc utilized thinner pads in this system, measuring about .140” thick, instead of the more standard thickness which is approximately .160”. Also similar to Buescher, the pad cups are bent in order to conform the pad to the tone hole. LeBlanc pads suffered the same drawbacks as the Buescher system.
Bundy Adjustapad
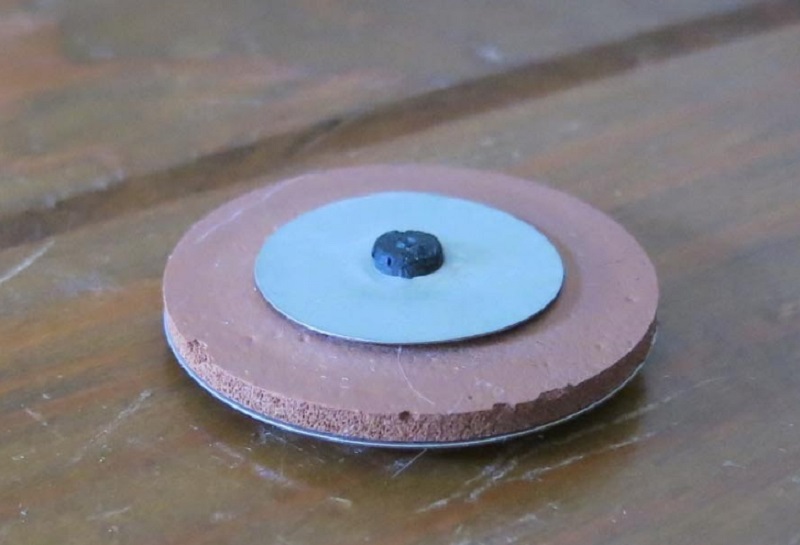
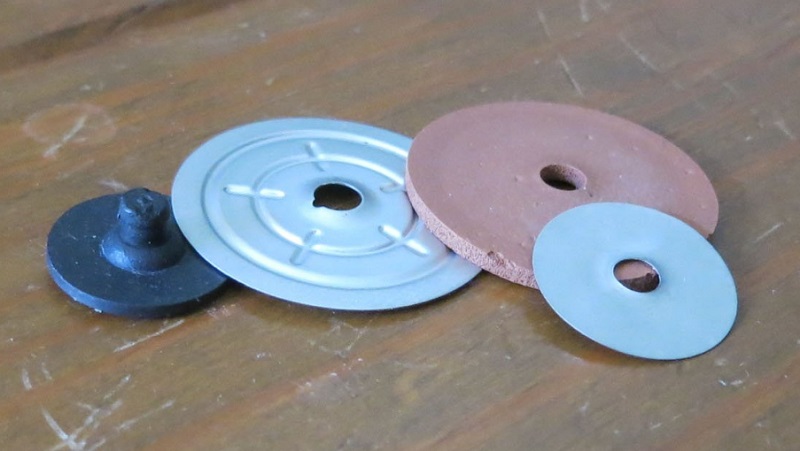
Adjustapads were designed by the Bundy company to be self-leveling. The pad is made from a rubber gasket-type material with a metal backing disc and is mounted on a rubber spud which is glued into the key cup. When the pad hits the tone hole, it conforms to the surface of the tone hole, and when it is released, it re-centers to the pad cup. While this system performs fairly well at self-leveling, it still has some drawbacks. Because the pad re-levels with every use, there is a delayed response and an unsure feel. The pad also develops hardened areas where first contact is made with the tone hole before it re-levels, which can result in a noisy and leaky pad. Additionally, the rubber spud allows the pad to spin.
TopTone Pad
TopTone pads are interesting pads that hail from The Netherlands. They consist of a neoprene-style rubber gasket pad that is installed in the pad cup with a tilting base, adhered with hot melt glue. The pad freely tilts and levels to the tone hole upon contact, and re-centers to the pad cup upon release in a similar manner to the Adjustapad. TopTone pads have an improved consistency but still suffer from a slight delay, spinning in the cup, and noisiness.
What Makes Neo Pads Different?
The Neo Pad takes inspiration from past designs but instead utilizes a patent-pending revolutionary self-leveling system. Installation of the base mount (spud) is done with the superior adhesives available today in order to be quickly and consistently installed. Neo Pads self-level instantly against the tone hole and hold their position. The Neo Pad system was developed to solve a long list of traditional padding problems: they are truly self-leveling, they hold their level position through friction fitting in the base, they don’t spin in the cup, they are adjustable for pad protrusion, they apply even pad pressure to the tone hole, they are easy to install, change, and remove, and they offer a good feel without excess pad noise.
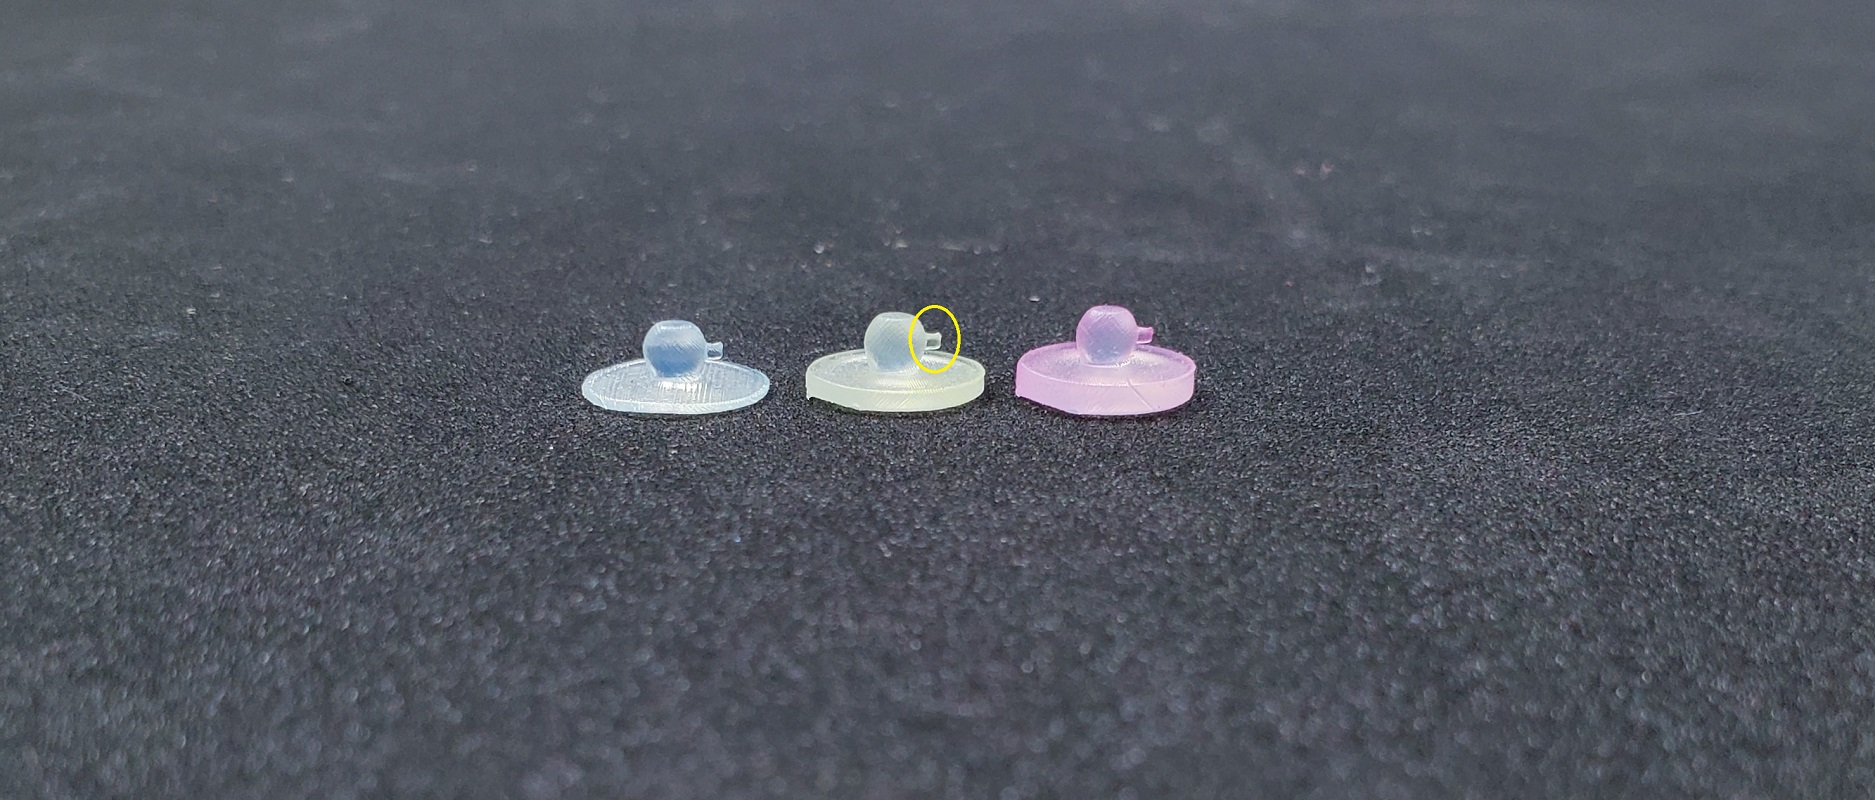
Construction
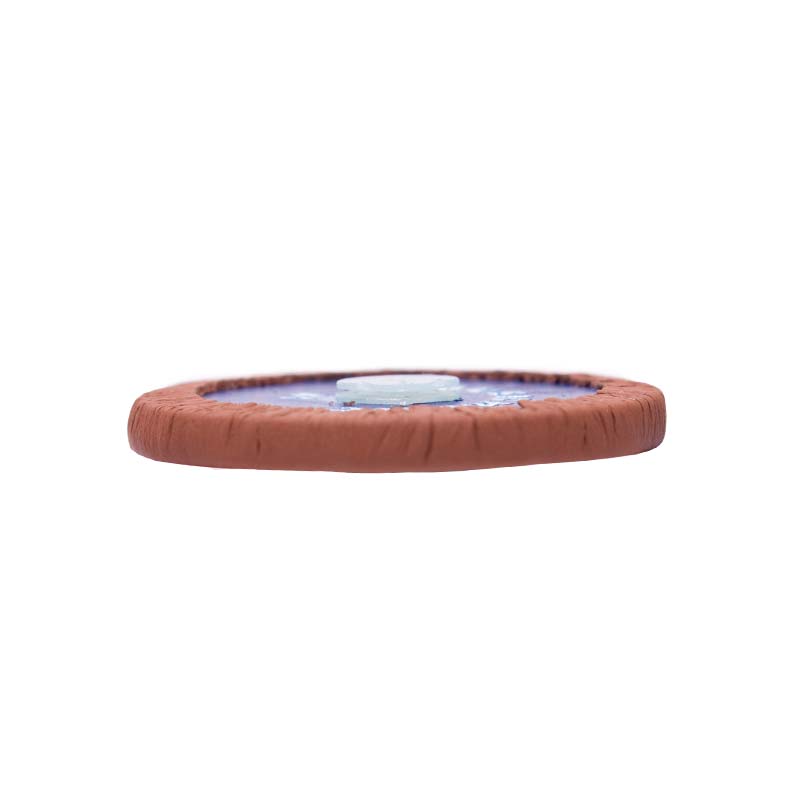
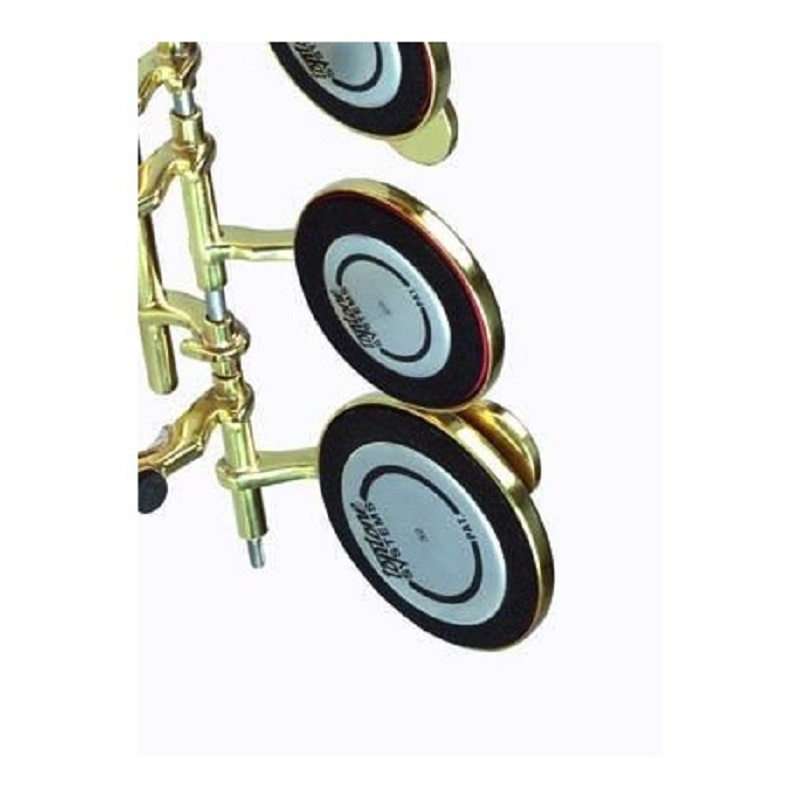
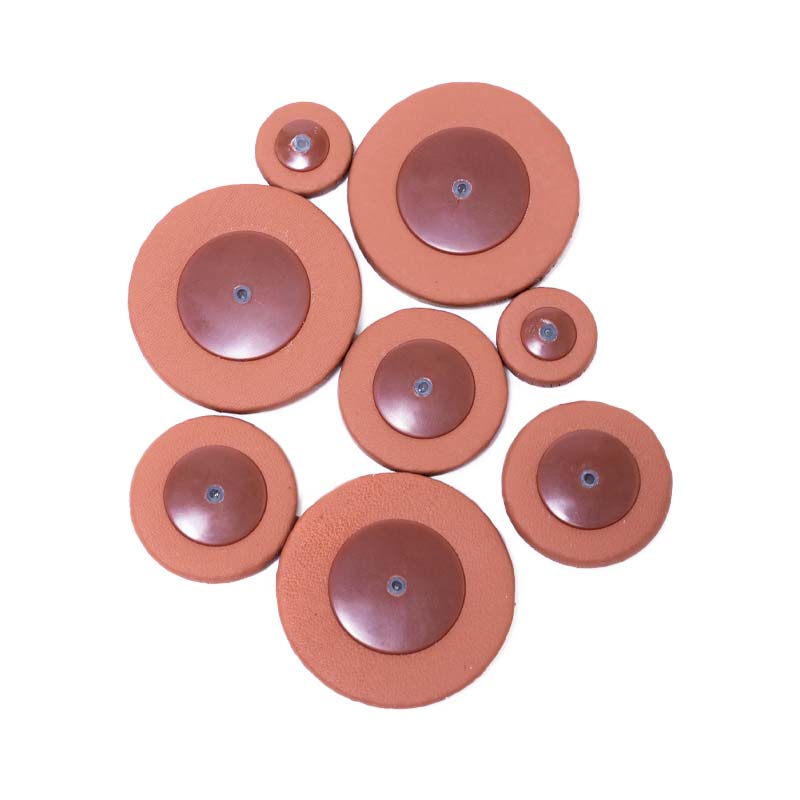
Neo Pads are made with a backing disc, a fully synthetic felt replacement, and are wrapped with leather or a synthetic gasket surface. The feel is responsive with some give. The ball-mounted base (spud) comes in various heights which allows you to achieve the right look and function for the instrument.
Like with any pad job, prep work is key to your success, and a straight and dent-free body with fitted keys, level tone holes, and level pad cups will set you up for a great end result. Neo Pads can be installed on any saxophone.
Self-Leveling
It’s really as easy as it sounds. Once the key is reinstalled and the pad contacts the tone hole for the first time, it will self-level instantly and hold itself in the correct orientation. The pad can be removed and replaced by snapping another pad into the mounted base.
Holds Position
A prescribed amount of friction is built into the mounting mechanism so that once the pad finds its level place against the tone hole, it will stay in position. It doesn’t re-center itself to the pad cup, so there are no worries of delay or response issues.
Adjusting For Pad Height/Protrusion
Another issue technicians face is selecting the proper thickness of pad. Using the proper thickness of pad is essential for a traditional pad job and technicians often have lots of money invested in their pad inventory to make sure they have the correct thickness of pad in stock when needed. This stocking problem is solved with the Neo Pad where one thickness of pad will work for every application and taller or shorter spuds are used to change pad protrusion.
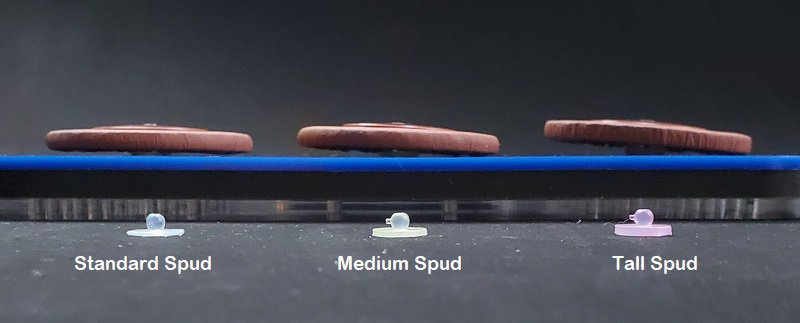
The standard spud comes with every Neo Pad and is what you will usually use. This standard spud is 0.5mm thick and will give a proper protrusion on most modern saxophones. The medium is a little thicker (the base is 1mm thick) and will work on many vintage instruments. The tallest spud is 1.5mm thick and gives you the most clearance and tilt, and works in situations where you might normally need a thicker pad or shim to achieve the correct height. Although the spuds will work for most of your installations, shimming the spuds with a Flute Pad Washer can be useful. Some vintage instruments have a deep center in their pad cups and in these instances a flute pad washer is perfect for shimming that pad up.
Even Pad Pressure
Neo Pads apply even pressure no matter where the key is pressed or activated. Neo Pads also apply even pressure no matter how hard or soft the key is pressed. This means that every Neo Pad installs the same and the pressure on the pad is the same around the entire surface with fewer pad failures, longer life, and a saxophone that plays better without constant pad leaks arising.
Tilting Without Spinning
Neo Pads don’t spin thanks to a design based on the principles of a universal joint. They can tilt in all directions but won’t spin because they are not mounted with a simple ball and socket.
No Front, No Back, No Sides…
The physics of a woodwind key movement are well known to installers. A technician’s ability to work around those physics is what separates a novice from a professional technician, where pressure from your finger, a spring, a neighboring key, etc. can act on the pad. However, Neo Pads are not rigidly connected to the pad cup and have only one centered input. This means that no matter where you press, Neo Pads only receive center pressure and distribute it evenly. All of the nuance needed to install a traditional pad is now unnecessary!
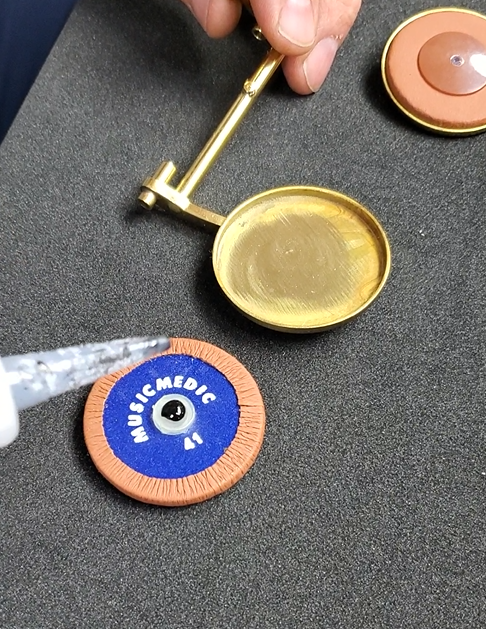
Installation and Removal
First, make sure your pad cup is clean and level, and other prep work is completed.
Begin installing a Neo Pad by selecting the appropriate height of ball mount base (spud), apply a drop of Black Tire Glue (rubber-reinforced cyanoacrylate adhesive) to the base, and hold the base in the center of the pad cup while it cures for 30 seconds while gently rocking the pad in the cup. Congratulations, you’re done padding!
Here’s a quick video of this process:
To remove the spud, apply a little super glue remover, give it a moment, and wipe the super glue residue out of the pad cup. You can also use a scraper to remove the spud and leftover adhesive.
Changing A Pad
Our research and development team were pleased to find that Neo Pads didn’t experience wear in the same way as traditional pads since they aren’t susceptible to uneven wear from spring or player pressure. Pressure always comes from the center of the pad and spreads evenly around the circumference of the tone hole. However, from time to time, pads will still need to be changed, especially in keys that are sprung closed and susceptible to moisture. Although you may choose to remove the old spud to insure adhesion, the spud doesn’t need to be removed to change a pad — you can simply snap the old pad out of the spud and snap the new pad into the spud and close it on the tone hole. It will level upon first contact and the installation is complete. This is very useful for pads that require changing more often such as Low Eb and palm key pads.
Response and Feel
Neo Pads are currently available as a soft pad that conforms to minor inconsistencies of tone holes. The player may notice a bit of softness on larger saxophones (tenor and larger), but many players, especially recording artists, prefer the more consistent and reliable pad response and reduction of pad noise.
Neo Pads level upon first contact with the tone hole and hold their position due to a friction fit alignment in the spud, so there is no delay and the response is excellent, even for sensitive players with a light touch. With evenly distributed pad pressure for every key, the results are fast response, a better tone for longer, and freedom from the warbles, squeaks, squawks, and honks that come from pad leaks.
Are Neo Pads the right choice for your shop and your saxophone overhauls?
Just like Morpheus said to Neo, “There is a difference between knowing the path and walking the path.” I can only show you the pad: you’re the one who must choose to install it!
If you:
- have ever not enjoyed the time-consuming process of padding
- gotten tired of working with torches and hot melt glue
- have a high volume shop maintaining a rental fleet
- have been previously disappointed in other non-traditional and self-leveling padding systems
- have to train or be trained to use traditional pads
— you should try Neo Pads!
The devil’s in the details, and these pads have been carefully designed to avoid every one of the most frustrating traditional padding problems.
In the time it took for you to read this article, you could have installed a set of Neo Pads! Contact us and give it a try. We’ve turned something that many technicians have dreamed of into a reality — you only have to see it and experience it for yourself. Are you ready?