Installing Neo pads (Patent Pending)
Neo pads (Patent Pending) are comprised of two basic parts. The first part is the pad portion. This operates much like any saxophone pad sealing to the tone hole. On the back of the pad, you will see there is a small round socket with a slot in the center.
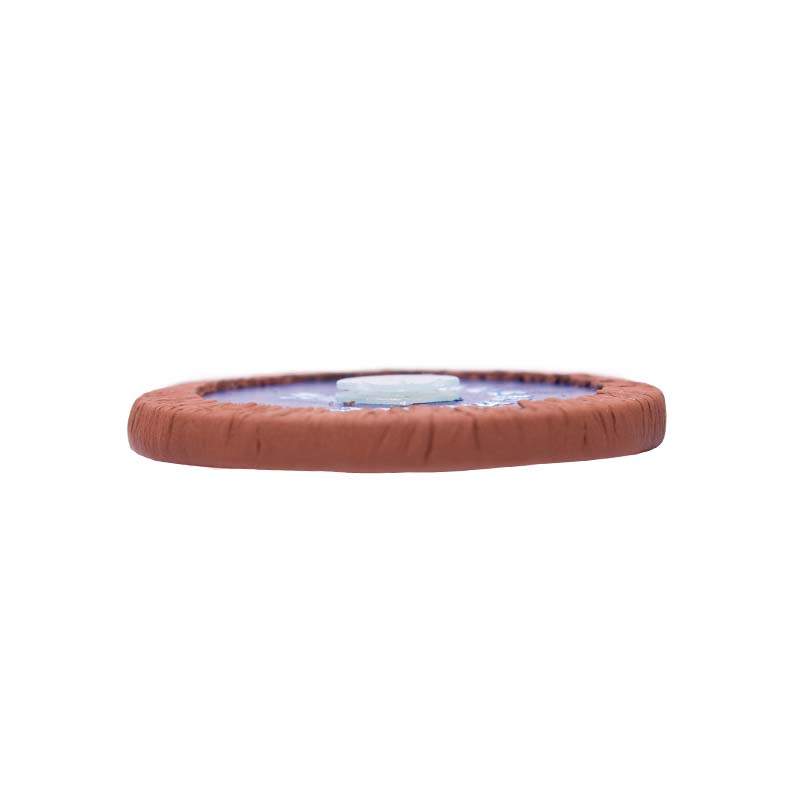
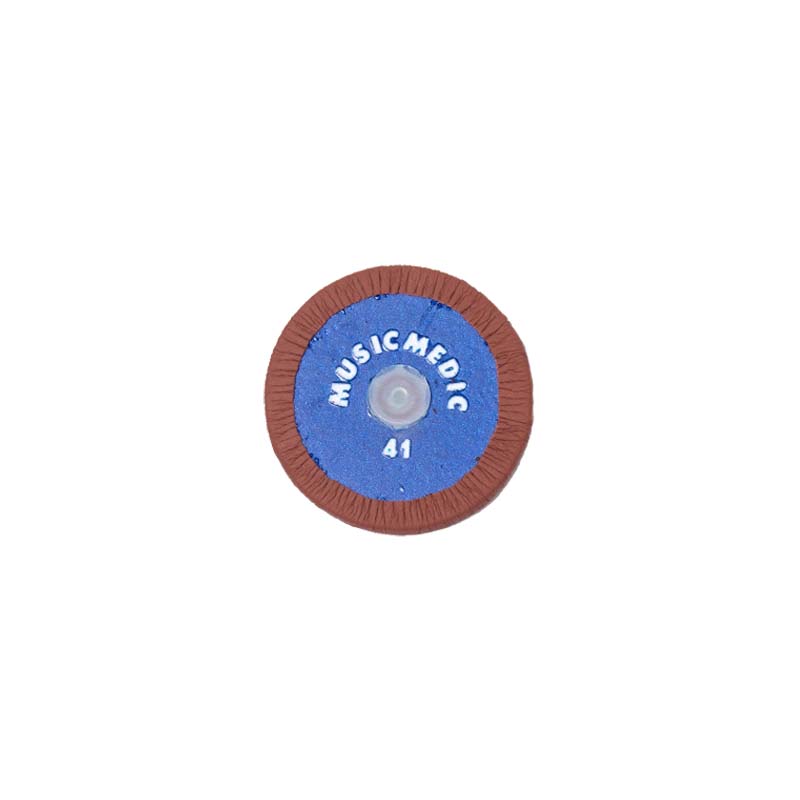
The second part is the spud (base). This spud snaps into the socket of the pad and is glued to the pad cup itself. This mechanism allows the pad to level itself to the tone hole instantly. The engineered friction in this connection is what holds the pad in place. This keeps it ready for the next time it needs to function.
When you receive your Neo pads the Standard Spud will be inserted into the back of the pad. You can remove the spud by gently unsnapping it from the back of the pad. You will notice that the spud has a ball and stem on it which keeps the pad from rotating in the cup. When snapping the spud into the socket you will want to be careful to orient the ball-stem with the slot in the socket at the back of the pad. Now you understand the two parts of the pad and how they snap together!
-Installing Neo pads:
The first step of installing your Neo pad is preparation. The amount of preparation you do will dictate the quality of the final job. Although it is possible to install Neo pads with very little preparation and perhaps less preparation than traditional pads, we still advise that you do all the preparation you might do for a normal pad installation, including leveling the tone holes.
-Clean the surface:
Double check that your pad cup is clean and free from debris. You will need a good meeting surface for the Neo pad, especially in the center of the pad cup to ensure proper adhesion when the glue is applied.
-Dry fit your Neo Pad:
Now you can dry fit the pad into the pad cup, tilting it from side to side making sure that there is ample space for the pad to tilt. Unlike traditional pads, Neo pads can be slightly under-sized and it will not affect their function. Neo pads will not shrink over time and they need room to tilt. (When ordering pads, we suggest you choose a size 0.5mm smaller than the traditional pad size you would normally use. Or, order 0.5mm smaller than the inner pad cup measurement.)
Although pad thickness is not nearly as critical for proper function on Neo Pads as it is on traditional pads, you will want proper pad protrusion for a professional result. With Neo pads this is achieved by simply choosing a different height of Spud. There are three Spud heights: Standard, Medium and Tall. If you feel that your pad is too low in the cup simply choose a taller spud, snap it in and dry fit the pad to ensure the proper height is achieved.
With your pad cup clean, a proper size pad and spud height, you are ready to glue in your Neo pad.
-Glue in your Neo Pad:
1. With the spud inserted into the socket, turn the pad over and apply a drop of Rubber Toughened superglue to the flat base of the spud. (Make sure to use this type of adhesive as we know it holds up well over time.)
2. With the glue applied to the spud base, quickly insert the pad into the cup and center the pad in the pad cup, leaving a small gap between the pad and the edges of the pad cup. Hold the pad in place by gently pressing on the center of the resonator for a few seconds while the glue sets up.
While the super glue is setting and you are applying pressure to the top of the resonator, tilt the pad in the cup, checking north, south, east and west. Make sure that there is clearance all the way around the pad giving it room to tilt in the cup. Don’t worry if anything goes wrong, you can simply use another spud. You will not need a whole new pad!
3. When the glue is set, your pad is now installed! Tilt the pad from side to side again without applying pressure to the resonator to double check the adhesion of the glue and to verify that there is ample clearance for the pad to tilt freely. As you work with these pads you will find that some rubbing on the side of the pad cup is actually OK and may be desirable.
-Assemble the instrument:
The key(s) on the instrument with Neo pads will level themselves when the key is pressed. You will only need to regulate pads to each other, there is no more leveling of the Neo pad that you need to do. It is that easy!
Let’s recap:
1. Prep Tone Hole Surfaces and level as necessary
2. Clean Cups
3. Choose a proper pad diameter and spud height
4. Apply glue to the base of the spud
5. Glue in the pad while tilting
6. Assemble the instrument

For visual instructions, please click the link below: